JamBlog

Build a blog on the Jamstack with Next.js and Ghost.js

This article aims to help you build a blog on the Jamstack. By the end of this post, we would spin up a blog with an entirely custom frontend with the NextJS react framework and the CMS with Ghost.js, an API driven headless cms.
The Stack
Jamstack
You've probably heard of the Jamstack or come across it a few times, Jamstack is the new standard architecture for the web designed to make websites faster. Using Git workflows and modern build tools, pre-rendered content is served to a CDN and made dynamic through APIs and serverless functions. Technologies in the stack include JavaScript frameworks, Static Site Generators, Headless CMS, and CDNs.
Technologies in this post:
- React.js(Javascript framework)
- Next.js(Static site Generator)
- Ghost.js(Headless CMS)
Hosting on a CDN is beyond the scope of this post.
Next.JS
Next.js is an open-source React front-end development web framework that enables functionality such as server-side rendering and generating static websites for React based web applications. It is a production-ready framework that allows developers to quickly create static and dynamic Jamstack websites.
Headless CMS
An headless CMS(content management system), is a back-end only content management system (CMS) built from the ground up as a content repository that makes content accessible in an API driven manner via a RESTful API for display on any client, regardless of the device.
So it’s basically a full-backend service with the database and also the editor and everything set up for you without any view representation, you interact with the API and JSON response. There are several headless cms examples out there, Including Ghost.js I’ll show an example of how to build a blog feature in a NextJS website with Ghost.js headless cms. This is what we’re going to develop in this post.
why Ghost.js
Ghost is the number one open-source CMS on Github. Ghost is an open-source, professional publishing platform built on a modern Node.js technology stack, and is completely framework-agnostic — designed with flexibility and performance built-in.
Everyday Ghost powers some of the most-read stories on the internet, serving hundreds of millions of requests across tens of thousands of sites.

we move, one step at a time...
Prerequisites
This configuration of a Ghost publication requires an existing moderate knowledge of JavaScript and React. but everybody is welcome to follow along, I would try to break stuff down as much as possible.

Let's get this party started
Setup Ghost.js
Ghost is completely free and open-source. It can be downloaded and self-hosted just about anywhere or spun up in a few moments using the Ghost(Pro) managed PaaS, but this includes a subscription which comes with a 14-day free trial.
I’ll be using a self-hosted option on my machine, this way you don't have to pay at least until you are ready to host it, and you have the option of using other hosting providers. you can go ahead and set up your ghost pro account if you like.
Install Ghost CLI
Ghost-CLI is a fully loaded tool to help you get Ghost installed and configured and to make it super easy to keep your Ghost install up to date from the command line interface, use the code to install Ghost CLI globally
npm install -g ghost-CLI
now install ghost using the Ghost-CLI
ghost install local
Grab a coffee, this could take while...
Ghost is an API driven CMS, which means you do your CRUD interactions through the API, the response is in JSON format. but Ghost ships with Handlebars so you can begin interacting with your content immediately so once it's done you can access Ghost from http://localhost:2368
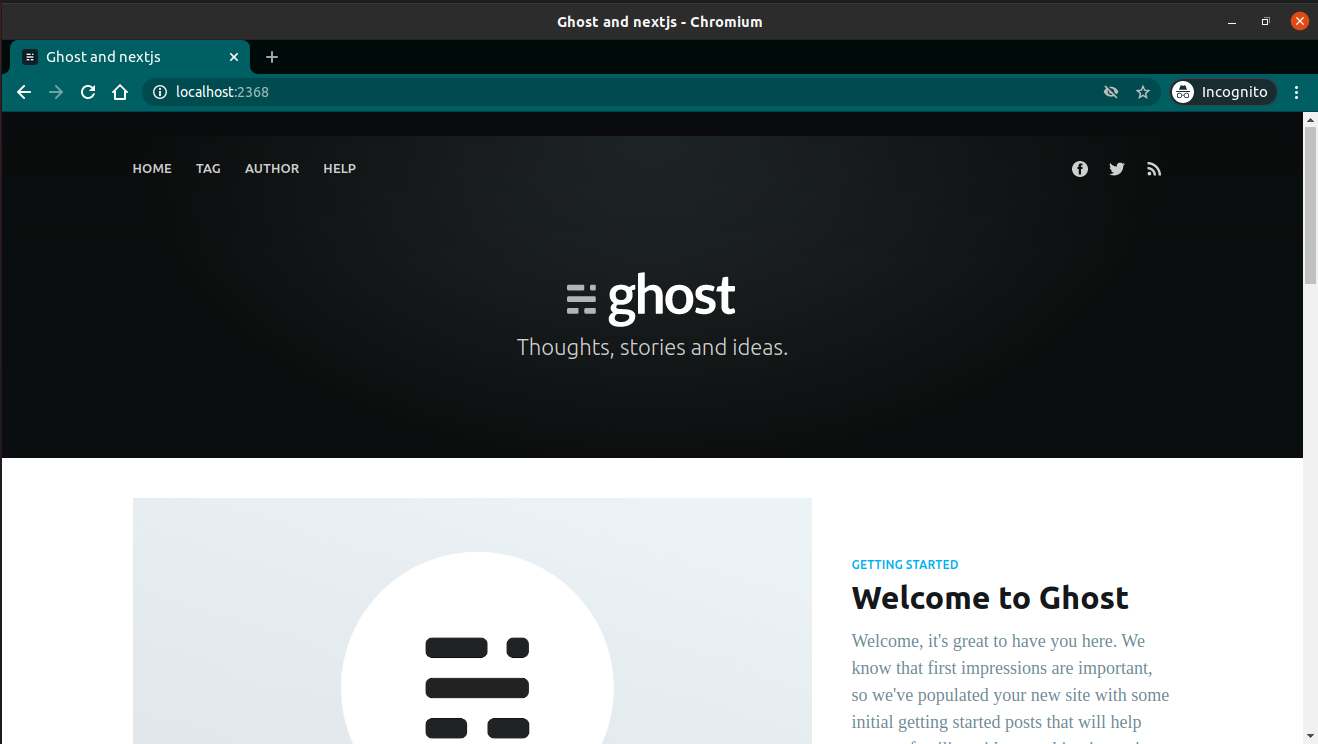
Ghost default site
Setup Next.js react application
We set up our Next.js frontend application via the command line using:
I am using yarn as my package manager, you can also use npx if you do not have yarn
yarn create next-app
cd my-next-app
yarn dev
nah you don't really need another cup of coffee
once the setup completes, we are ready to spin things up.
cd my-app
yarn dev
This serves the NextJS server on http://localhost:3000
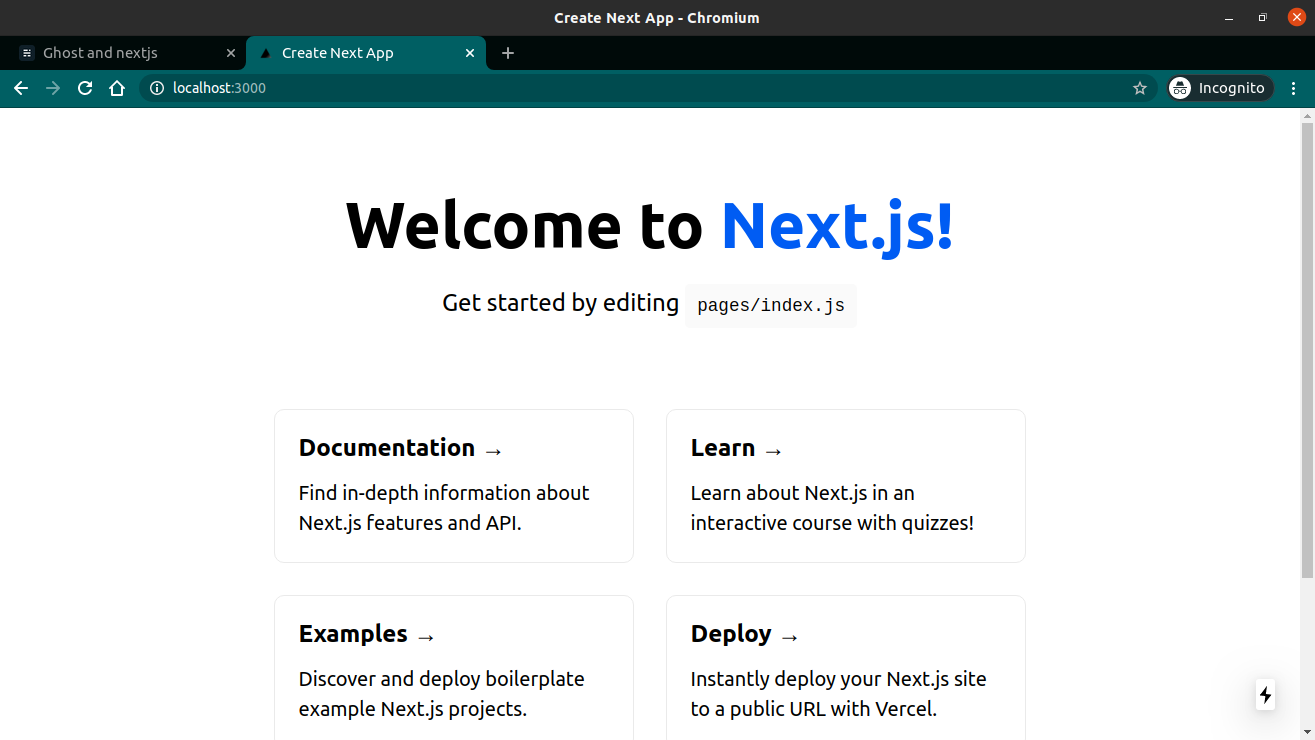
Next.js default starter
Hooking things up
So now we have setup GhostJS and NextJS, but they are not aware of each other existence and cannot interact yet. Using the JavaScript Ghost Content API Client Library, it's possible for content from a Ghost site can be directly accessed in your Next.js application.
Within your Next.js application
Install the official JavaScript Ghost Content API helper
yarn add @tryghost/content-API
Create a new file called posts.js within the pages/API/ directory. This file will contain the config and instance of Ghost Content API as well as the functions needed to request the contents from Ghost.
NextJS
my-app
|- /.next
|- /node_modules
|- /pages
  |- /api
  + |- posts.js
  |- _app_.js
  |- index.js
|- /styles
|- .gitignore
|- package.json
import the contentAPI helper into posts.js file
/pages/posts.js
import GhostContentAPI from "@tryghost/content-api";
Now the instance of the Ghost Content API can be created using Ghost site credentials:
/pages/posts.js
const api = new GhostContentAPI({
  url: "http://localhost:2368",
  key: "<your content api key here>",
  version: "v3",
});
you have to create your site credentials from the Ghost admin interface, in this case http://localhost:2368/ghost/, in this format http(s)/[your ghost site url]/ghost. Go to integrations and create a new integration, name it NextJS.
The API URL is the URL your ghost site runs on, copy API URL and replace this config
the key is the content API key from your integration
and the version denotes the version of the content api we want to interact with, v3 is currently the latest version.
Expose the contents
The posts.browse() endpoint can be used to get all the posts from a Ghost site.
This can be done with the following code as an asynchronous function:
/pages/posts.js
export async function getPosts() {
  return await api.posts
    .browse({
      limit: "all",
      include: "authors, tags",
    })
    .catch((err) => {
      console.error(err);
    });
}
this accepts some options to format how we want to return the posts:
limit - By default, only 15 records are returned at once, passing all returns all the posts at once, you do not want to use this always.
Include - Tells the API to return additional data related to authors, tags
we can now render the posts into our blog
our post.js file should look like this:
pages/posts.js
import GhostContentAPI from "@tryghost/content-api";

const api = new GhostContentAPI({
  url: "http://localhost:2368",
  key: "40835a1784824da9a2bcce5466",
  version: "v3",
});

export async function getPosts() {
  return await api.posts
    .browse({
      limit: "all",
      include: "authors, tags",
    })
    .catch((err) => {
      console.error(err);
    });
}
Rendering Posts
In React apps data is passed to pages and components with props. Next.js extends upon that concept with getInitialProps function. This function will load the Ghost site content into the page before it's rendered in the browser.
import the getPosts function in the index.js file
pages/index.js
import { getPosts } from "./api/posts";
The posts can be provided as props to the page with the getInitialProps function. In this case, the page is Home:
pages/index.js
Home.getInitialProps = async () => {
  const posts = await getPosts();
  return { posts: posts };
};
Now the posts can be used within the Home via the component props:
const Home = (props) => (
  <div style={{ margin: "50px" }}>
    {props.posts.map((post) => (
      <Link href={`/[slug]`} as={`/${post.slug}`}>
        <div
          style={{
            background: "grey",
            marginBottom: "20px",
            borderRadius: "5px",
            padding: "10px",
          }}
          key={post.id}
        >
          <h3>{post.title}</h3>

          <p>{post.excerpt}</p>
        </div>
      </Link>
    ))}
  </div>
);
don't forget to export the page
export default Home;
this is how the index.js file looks currently:
pages/index.js
import { getPosts } from "./api/posts";

const Home = (props) => (
  <div style={{ margin: "50px" }}>
    {props.posts.map((post) => (
      <div
        style={{
          background: "grey",
          marginBottom: "20px",
          borderRadius: "5px",
          padding: "10px",
        }}
        key={post.id}
      >
        <h3>{post.title}</h3>

        <p>{post.excerpt}</p>
      </div>
    ))}
  </div>
);

Home.getInitialProps = async () => {
  const posts = await getPosts();
  return { posts: posts };
};

export default Home;
Rendering a single post
Retrieving Ghost content from a single post can be done in a similar fashion to retrieving all posts. By using posts.read() it's possible to query the Ghost Content API for a particular post using a post id or slug.
in the api/posts.js file and add the following async function:
api/posts.js
export async function getSinglePost(postSlug) {
  return await api.posts
    .read({
      slug: postSlug,
    })
    .catch((err) => {
      console.error(err);
    });
}
This function accepts a single post slug parameter, which will be passed down by the template file using it. The page slug can then be used to query the Ghost Content API and get the associated post data back.
Next.js provides dynamic routing for pages that don't have a fixed URL / slug. The name of the js file will be the variable, in this case, the post slug, wrapped in square brackets – [post].js.
create a dynamic page in pages directory, [post].js
NextJS
my-app
|- /.next
|- /node_modules
|- /pages
  |- /api
    |- posts.js
  |- _app_.js
  |- index.js
  + [post].js
|- /styles
|- .gitignore
|- package.json
The getSinglePost() function can be used within the [post].js file like so:
/pages/[post].js
// Import getSinglePost function
import { getSinglePost } from "./api/posts";

// PostPage page component
const PostPage = (props) => {
  // Render post title and content in the page from props
  return (
    <div>
      <h1>{props.post.title}</h1>
      <div dangerouslySetInnerHTML={{ __html: props.post.html }} />
    </div>
  );
};

// Pass the page slug over to the "getSinglePost" function
// In turn passing it to the posts.read() to query the Ghost Content API
PostPage.getInitialProps = async (params) => {
  console.log(params.query);
  const post = await getSinglePost(params.query.post);
  return { post: post };
};

export default PostPage;
now update index.js to become
indexpage.js
import { getPosts } from "./api/posts";
import Link from "next/link";

const Home = (props) => (
  <div style={{ margin: "50px" }}>
    {props.posts.map((post) => (
      <Link href={`/[slug]`} as={`/${post.slug}`}>
        <div
          style={{
            background: "grey",
            marginBottom: "20px",
            borderRadius: "5px",
            padding: "10px",
          }}
          key={post.id}
        >
          <h3>{post.title}</h3>

          <p>{post.excerpt}</p>
        </div>
      </Link>
    ))}
  </div>
);

Home.getInitialProps = async () => {
  const posts = await getPosts();
  return { posts: posts };
};

export default Home;
We now have a basic blog with our contents managed by Ghost CMS via an API.
Managing Contents on Ghost
We read some post contents from ghost through the content API into the frontend, You're probably wondering how all that content got into Ghost, Ghost ships some default data out of the box.
You can manage your ghost contents through the Ghost admin interface on http://localhost:2368/ghost/.
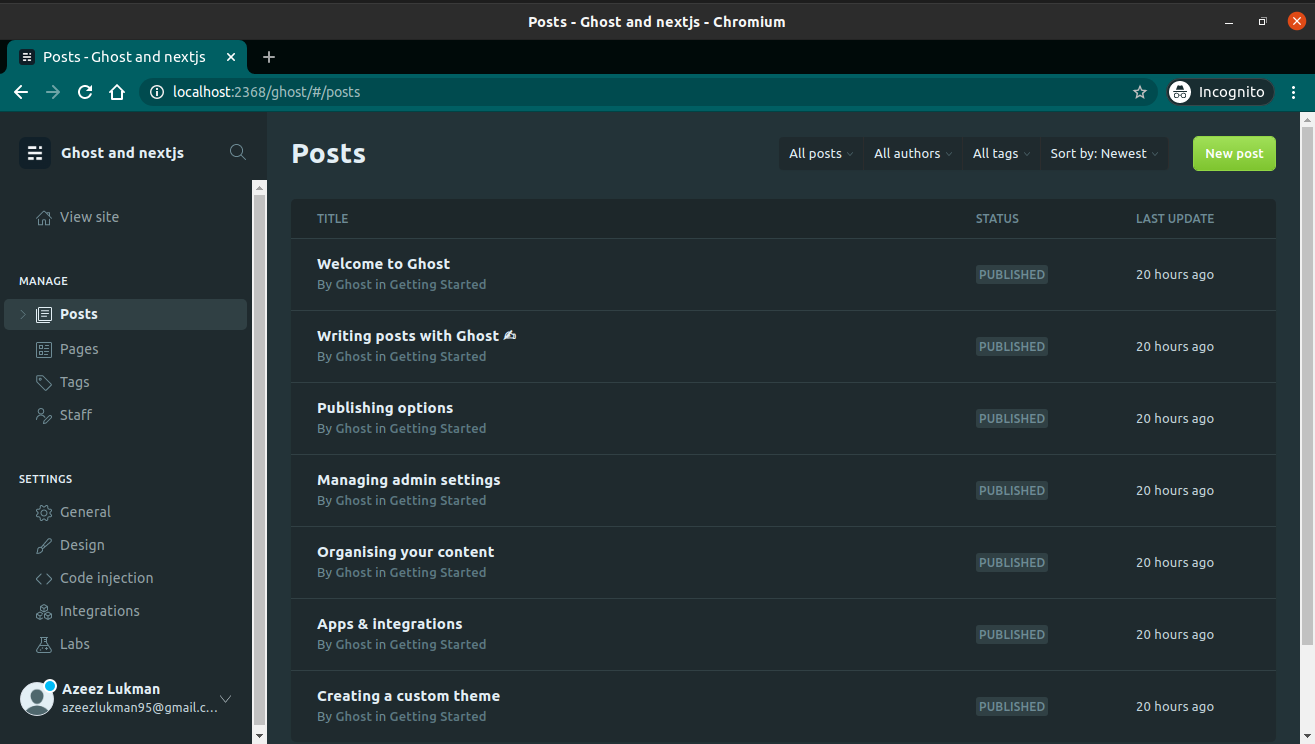
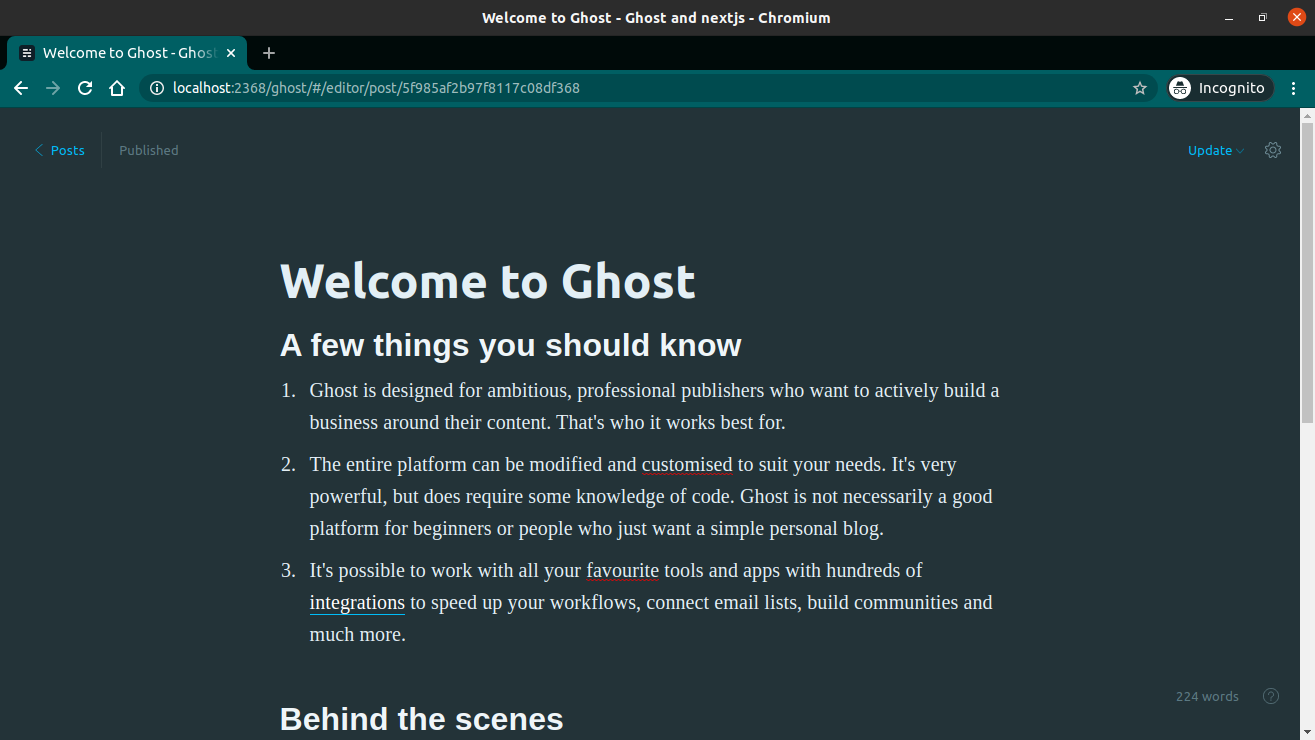
Ghost has a really great and powerful content editor that can be used right from the browser with all the features you would expect to find
Next Steps
We now have a blog built on the Jamstack, this should get you started spinning up your blog, Go ahead and add some styling and get creative, continue to hosting your blog on a CDN to fully utilize the Jamstack. There is a lot more to Ghost.Js and Next.JS
Feel free to check out the Source Code on Github
watch on youtube:
references:
For ideas and inspirations see some blogs built on the Jamstack:

